

A campaign is a sequence of LinkedIn actions that Replygrow runs for every lead you add. Use this guide to build one from the first click to launch. Every campaign has three steps: Leads, Sequence and Review.
Before you start
Connect a LinkedIn account first. See How to add a LinkedIn account.
Start a campaign
Go to Campaigns and click Add new campaign.
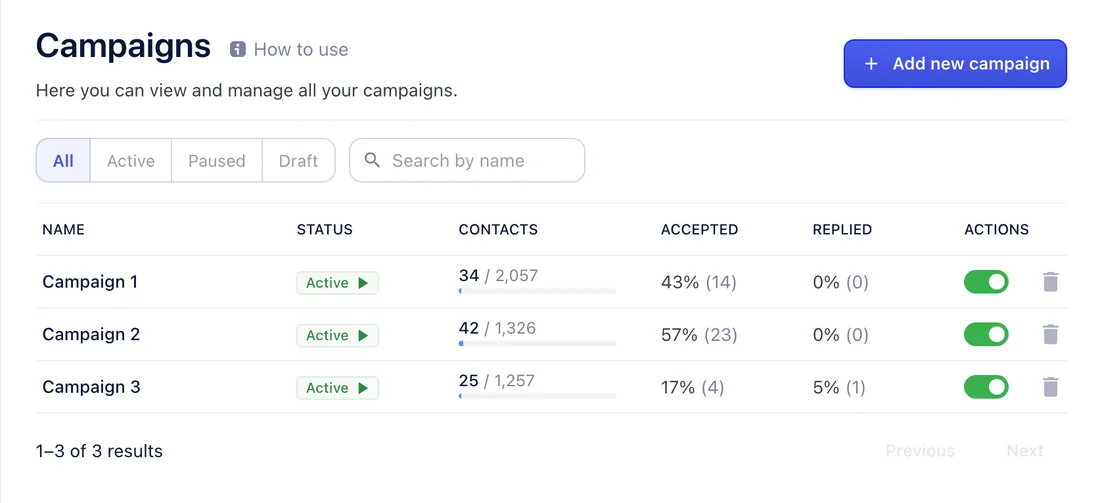
The campaign opens on the Leads step.
Add leads
Under How do you want to add leads?, pick a source.
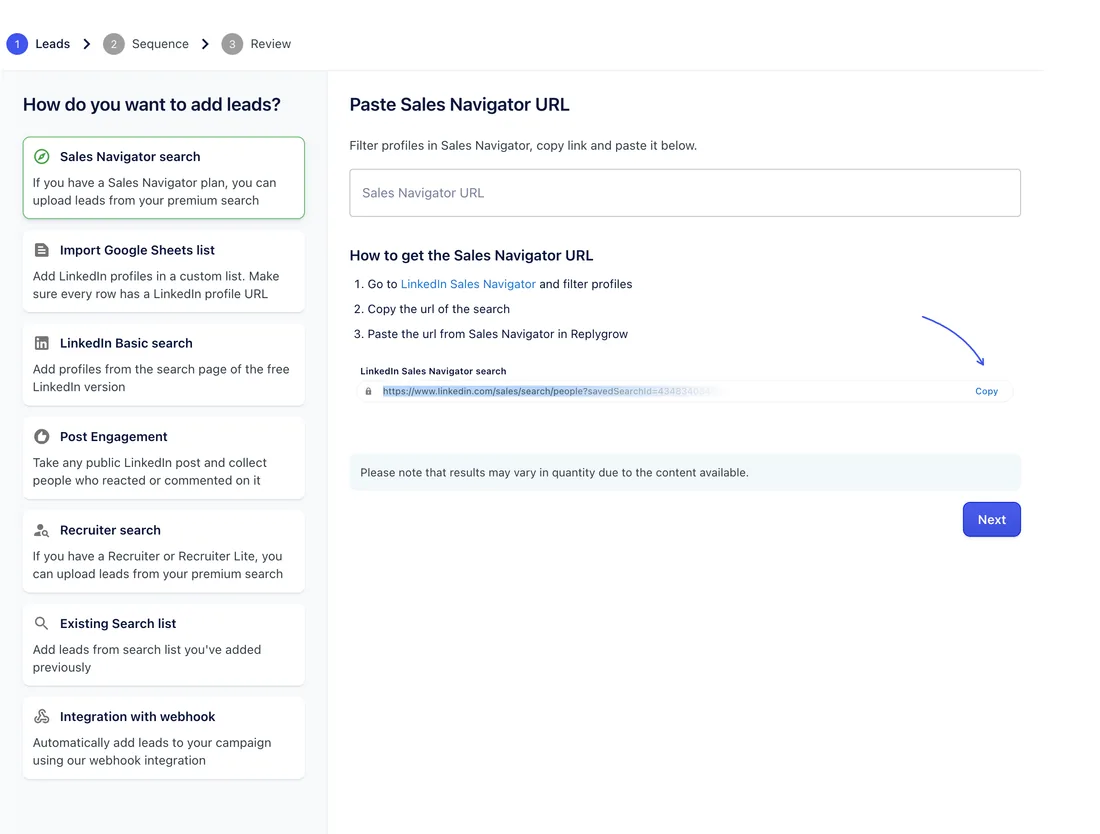
Paste the URL. Replygrow fills in a search name and shows the lead limit for that source.
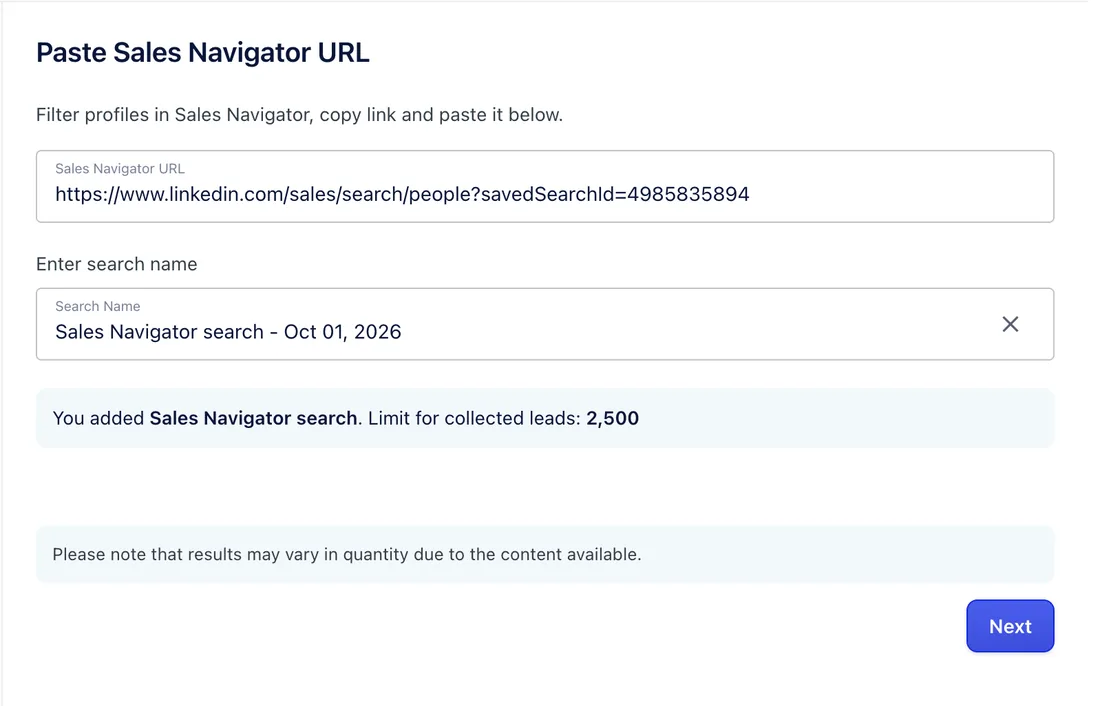
Click Next.
You can pick from seven sources:
- Sales Navigator search: a lead search or saved lead list, up to 2,500 leads. See Import leads from Sales Navigator.
- Import Google Sheets list: your own list. See Import a custom list from Google Sheets.
- LinkedIn Basic search: a regular LinkedIn people search, up to 1,000 people. See Import leads from a LinkedIn search.
- Post Engagement: people who reacted to or commented on a post. See Import people who engaged with a LinkedIn post.
- Recruiter search: a search or saved list from Recruiter or Recruiter Lite, up to 2,500 candidates. See Import candidates from LinkedIn Recruiter.
- Existing Search list: a search you created earlier.
- Integration with webhook: leads pushed in from Zapier, Make or your CRM.
Full guide: Create a search
Use an existing search
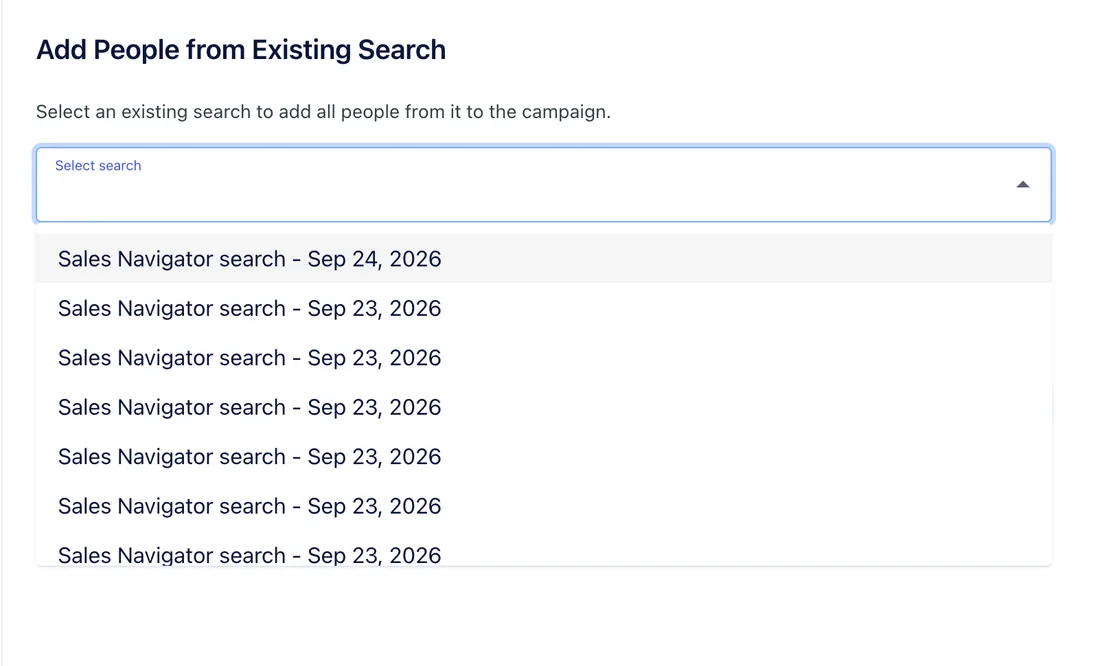
Choose Existing Search list and pick the search from Select search. Replygrow adds everyone in it to the campaign.
Add leads automatically with a webhook
Choose Integration with webhook to let another tool add leads to the campaign. The screen shows the Campaign ID you need for the setup.
Note the Campaign ID.
Set up the webhook in Zapier, Make or another tool, using your Replygrow API key.
Click Continue to add steps.
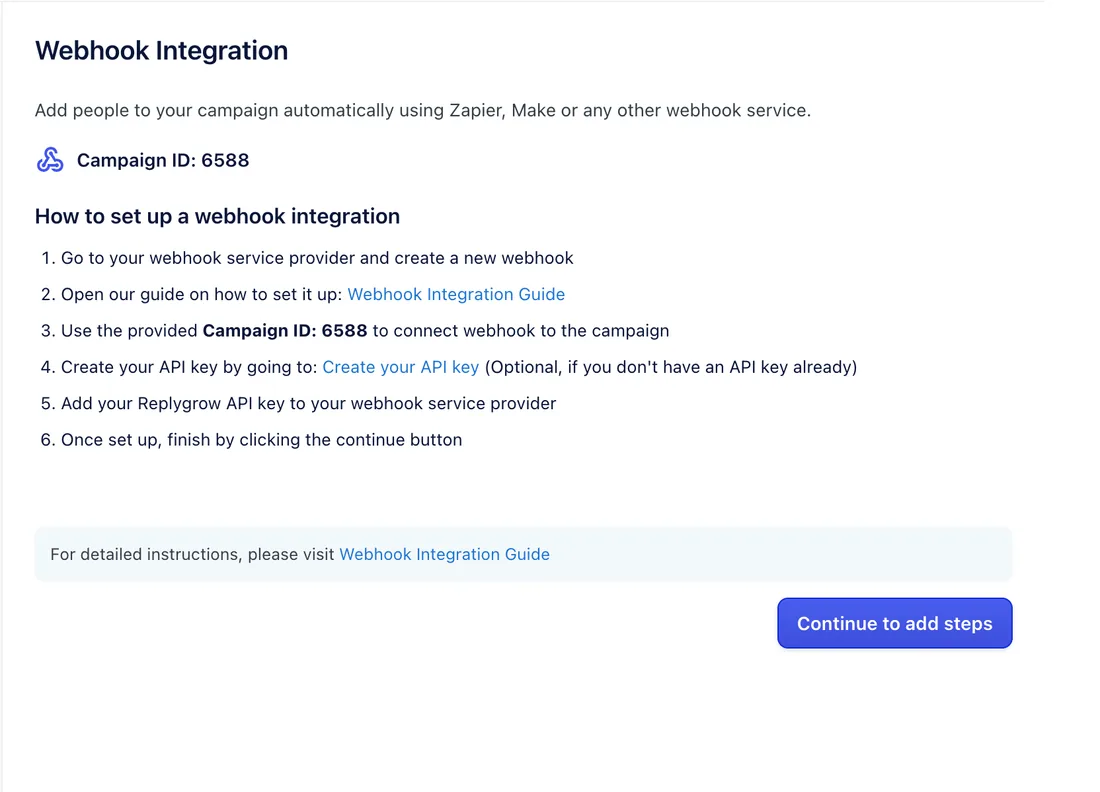
Full guide: Reverse webhooks
Build the sequence
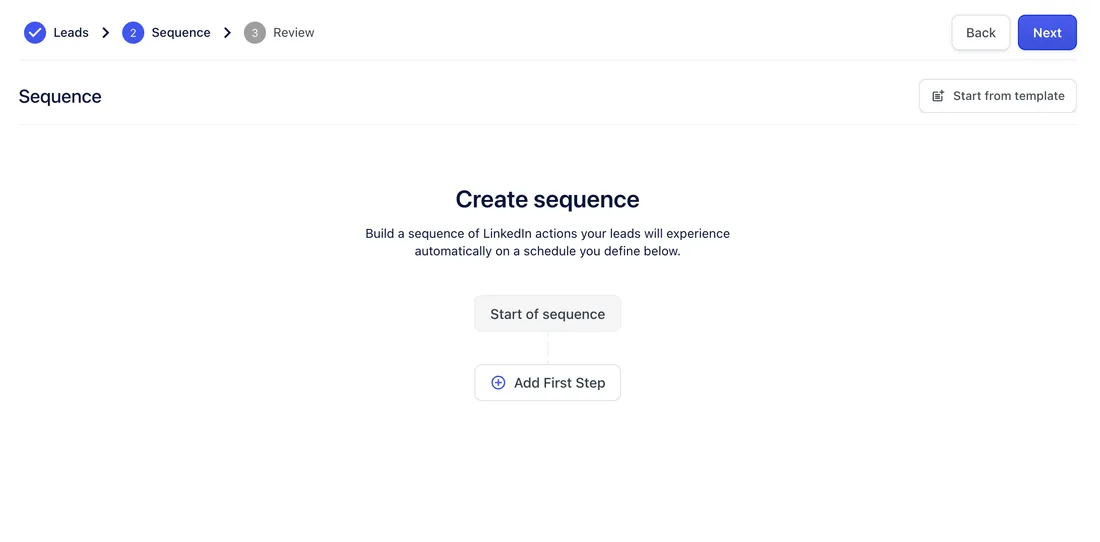
On the Sequence step, build the LinkedIn actions Replygrow runs for each lead.
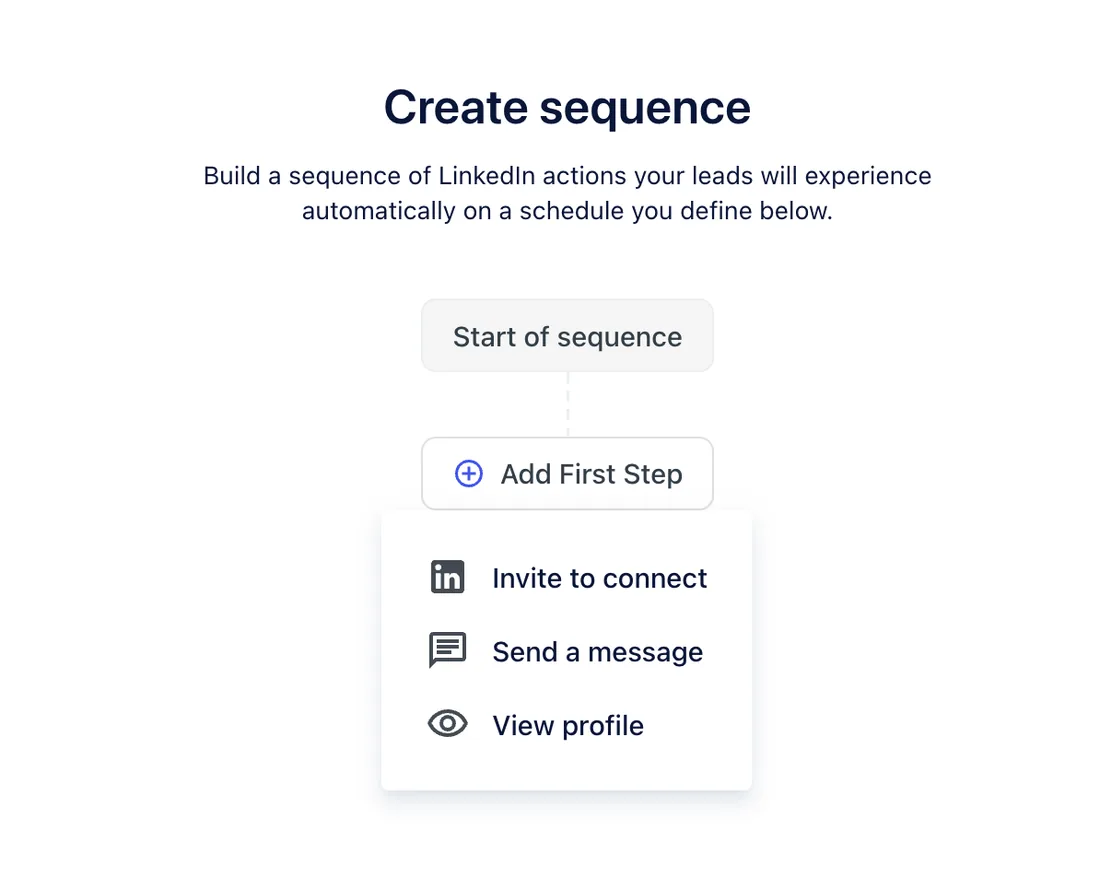
Click Add First Step, or click Start from template to begin from a ready-made sequence.
Pick the action: Invite to connect, Send a message or View profile.
Add more steps, and set a time delay between them.
You can also add an InMail step. It uses the connected account's own InMail credits.
Personalize your messages
Use placeholders such as first_name in the connection request and messages. Replygrow replaces them with each prospect's real details.
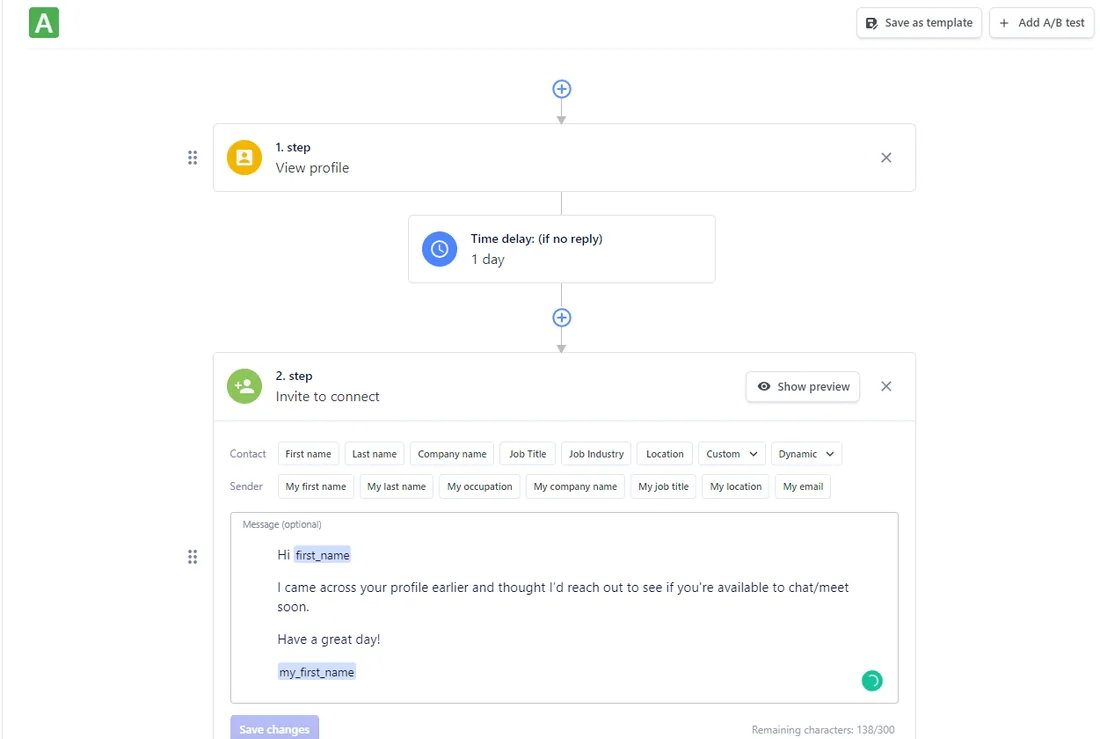
For more variation:
- Add conditions (IF/ELSE).
- Add spintax.
- Click Show preview to see the final text for a real prospect.
Full guide: Placeholders
Test message versions
This part is optional. Test several versions of a message to see which one works best.
Click Add A/B test to add a version B.
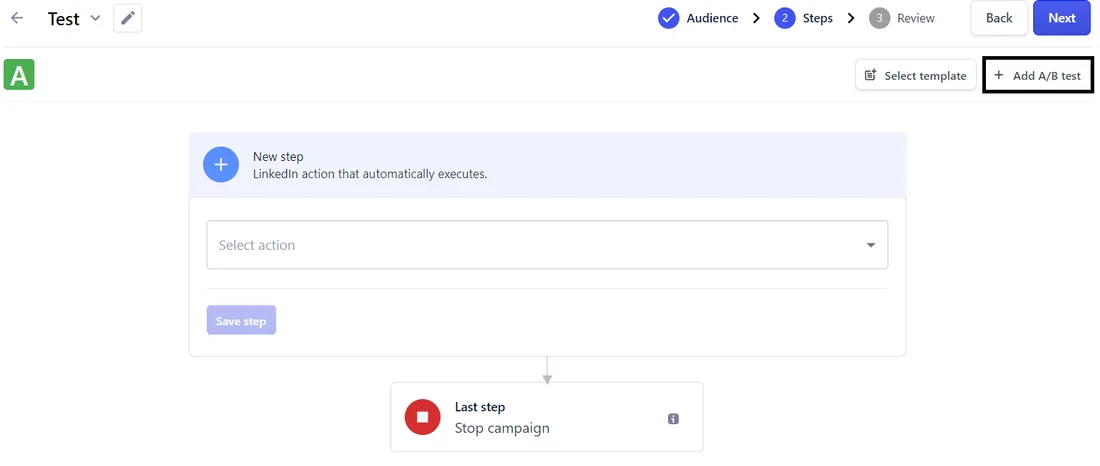
Open version B and set its flow.
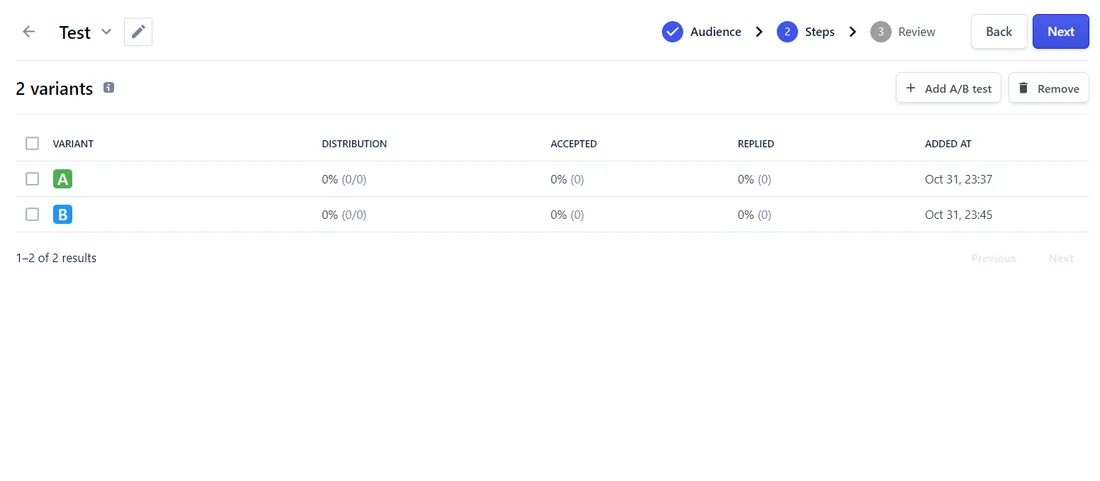
Replygrow rotates prospects across the versions automatically. The variants table shows how each one performs.
Review and launch
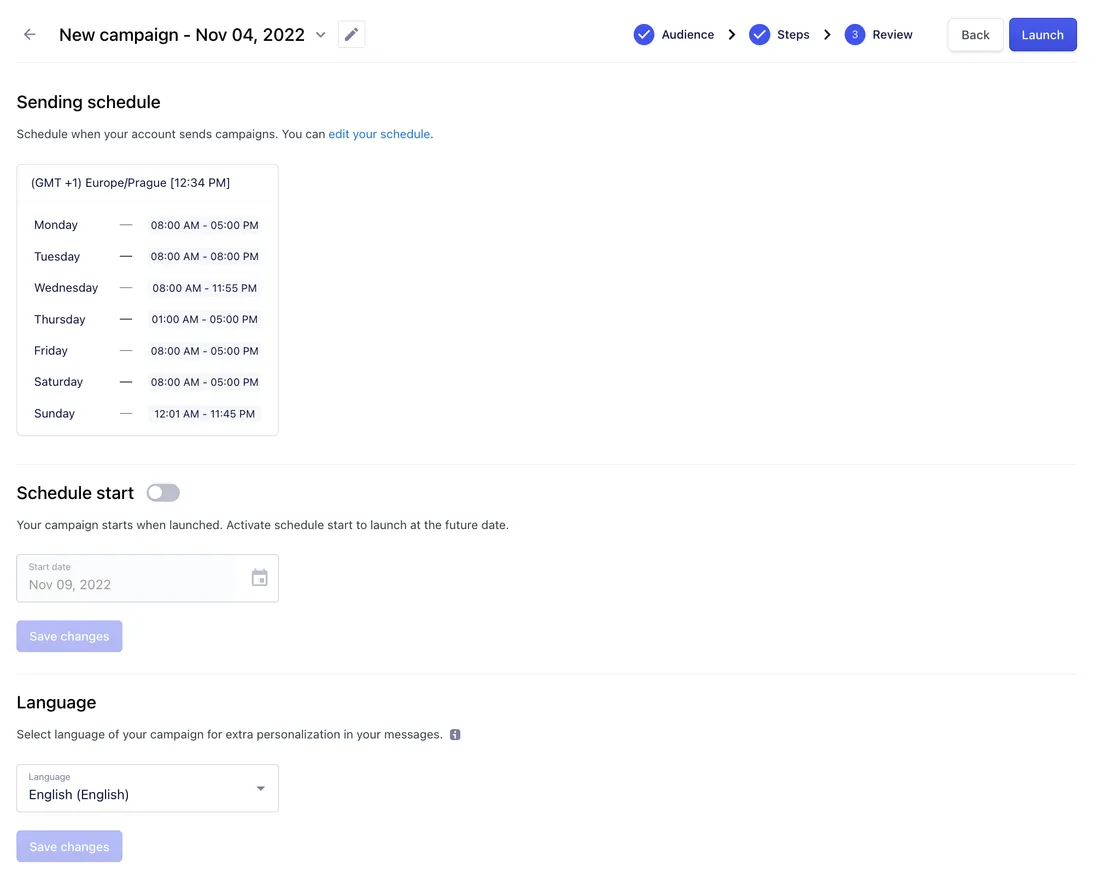
On the Review step, check the settings below. Then launch the campaign.
Sending schedule
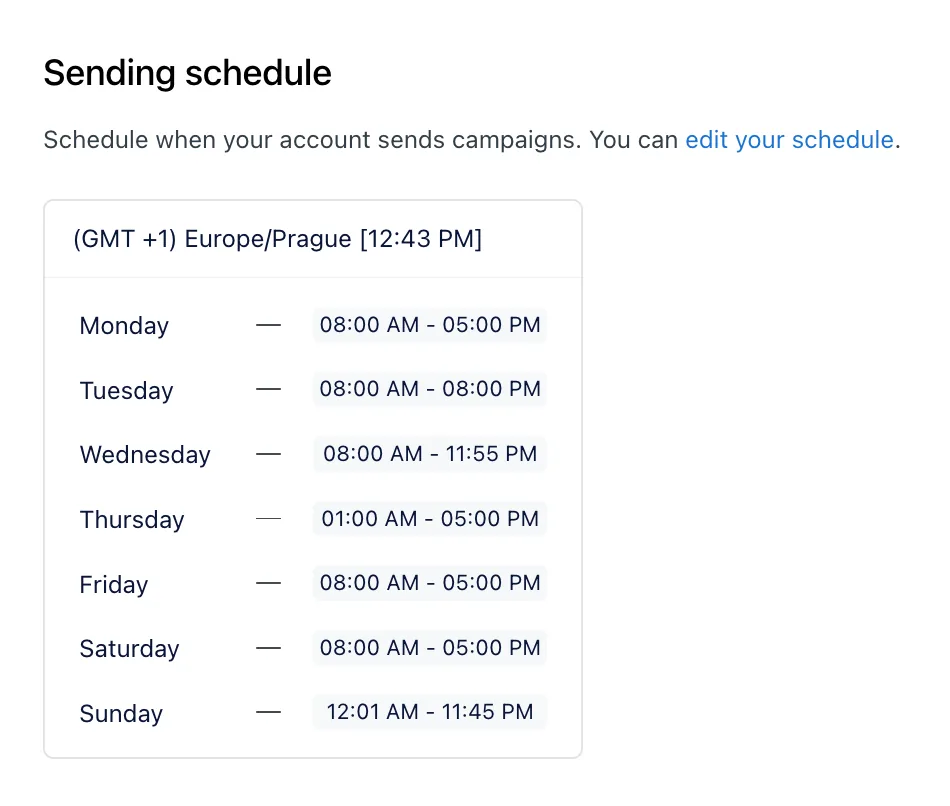
The Sending schedule shows when your account sends campaigns, based on its active hours. Click edit your schedule to change it.
Full guide: Account settings
Schedule start
This part is optional. Launch the campaign on a future date.
Turn on Schedule start.
Pick a Start date.
Click Save changes.

Language
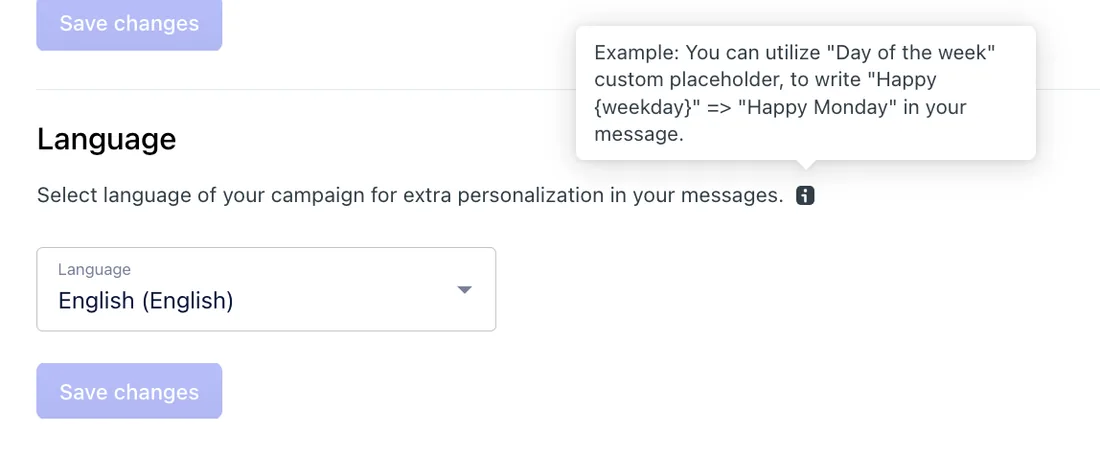
The campaign Language controls placeholders such as the day of the week. For example, "Happy {weekday}" becomes "Happy Monday" in your language.
Pick the campaign Language.
Click Save changes.
Sending limits
Replygrow sends up to 100 invitations a day per account. We recommend staying under 300 a week. New accounts warm up gradually, from 5 to 30 invitations a day over 14 days by default. You can change both in Account settings.
When a prospect replies, only that person's sequence pauses. The campaign keeps running for everyone else.
Related articles
- Campaign view
- Create a search
- Reverse webhooks
- Placeholders
- Feature overview: LinkedIn message automation