

A reverse webhook lets another tool send a lead to Replygrow and add it to a campaign. Use it when a new lead lands in your CRM with a LinkedIn profile URL and you want it in a campaign without importing anything by hand.
What a reverse webhook is
You send an HTTP POST request with a JSON body to this endpoint:
https://api.replygrow.com/api/inevitable/direct_actions/
Add your API key in the rw-api-key header. The JSON body looks like this:
{
  "execution_strategy": "LinkedInAddToCampaignStrategy",
  "profile_url": "https://www.linkedin.com/in/example/",
  "campaign": 63,
  "placeholder_1": "My custom placeholder",
  "placeholder_2": "2022-04-17 15:27:15"
}
- execution_strategy: the action to run. Use
LinkedInAddToCampaignStrategyto add a person to a campaign. - profile_url: the prospect's LinkedIn profile URL.
- campaign: the ID of the campaign that receives the lead (
63is an example). - placeholder_1, placeholder_2: optional custom placeholders for this contact. They can hold any data, such as a phone number or a CRM field.
The rest of this article sets it up with Zapier and Pipedrive.
Step 1: Create a campaign
Create the campaign that will receive the leads.
Go to Campaigns and click Add new campaign.
On the Leads step, choose Integration with webhook. Note the Campaign ID shown on the screen.
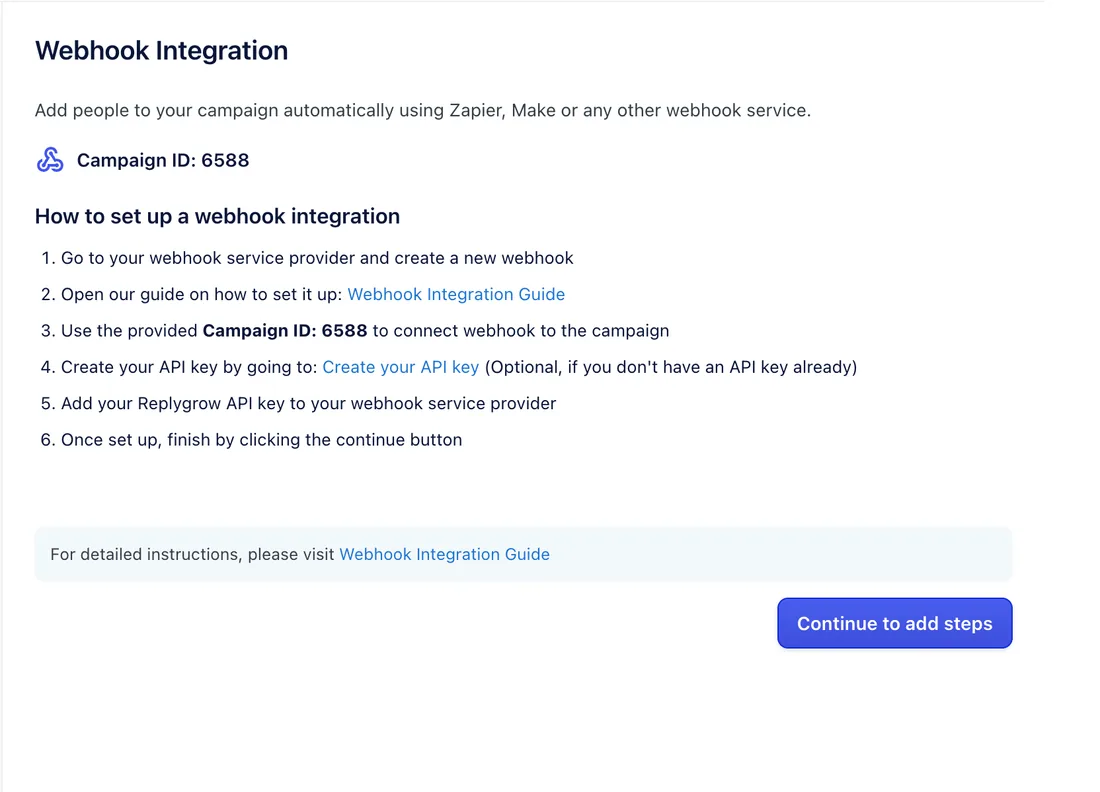
Click Continue to add steps, build the sequence and launch the campaign.
Step 2: Create your API key
The key belongs to the LinkedIn account you are on, and each account has its own.
Go to Integrations.
Click Setup Reverse webhooks.
Enter a name for the key.
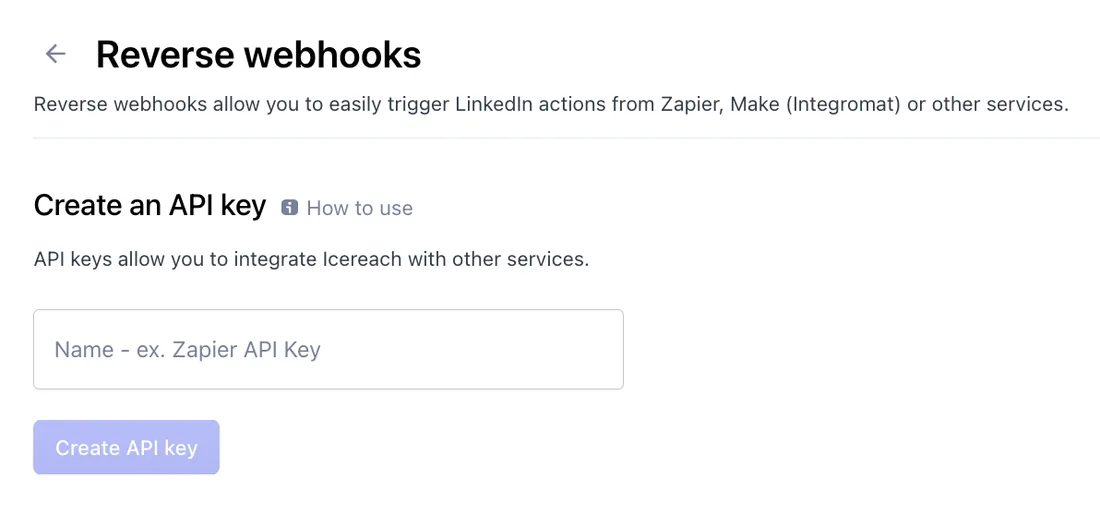
Copy the key and save it somewhere safe. For security, you can't view it again.
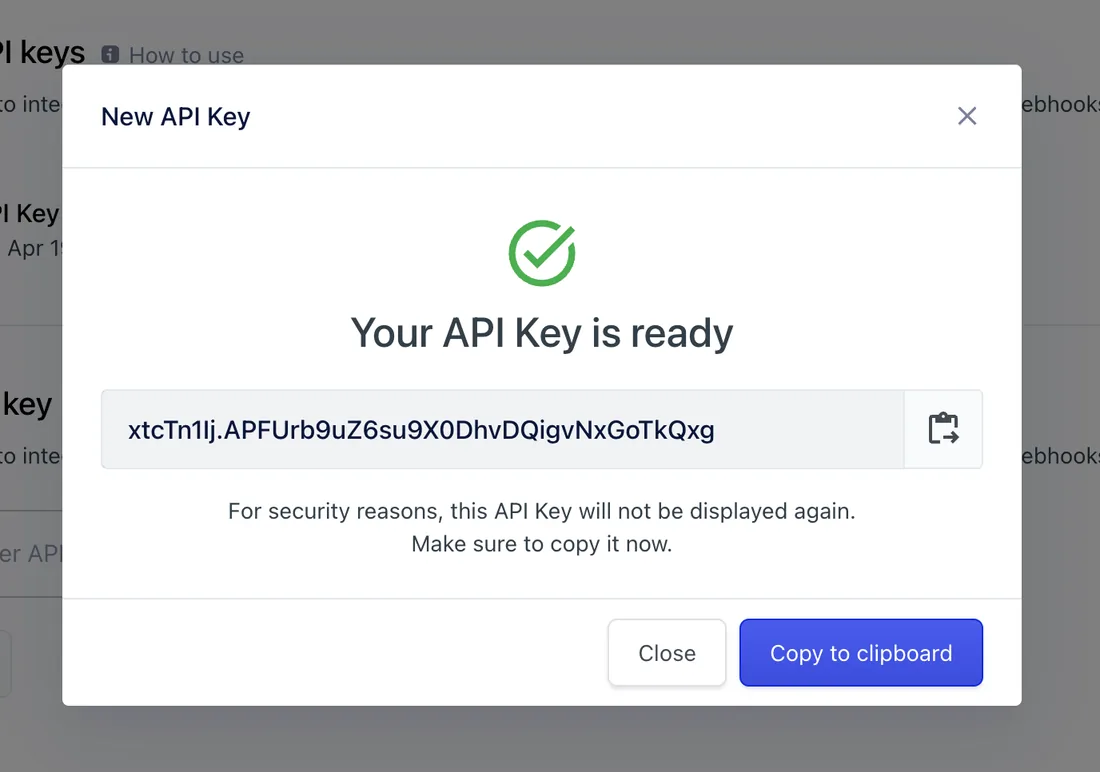
If you lose the key, delete it and create a new one. Then update the key everywhere you send requests.
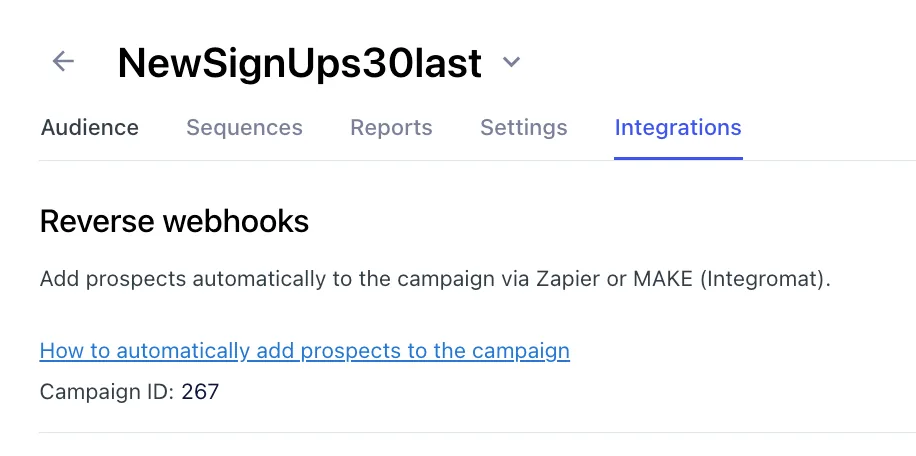
Step 3: Find your campaign ID
The Campaign ID is on the webhook screen from step 1. For an existing campaign, open it from the Campaigns page and go to the Integrations tab.
Step 4: Set up the Zap
This example pushes people from Pipedrive. Use a custom field in Pipedrive for the LinkedIn profile URL so you can pick it in Zapier. See Pipedrive custom fields.
Set the trigger
Go to Zapier and click Create Zap.
Select Pipedrive and choose your trigger event. This example uses Updated person, but any event works.
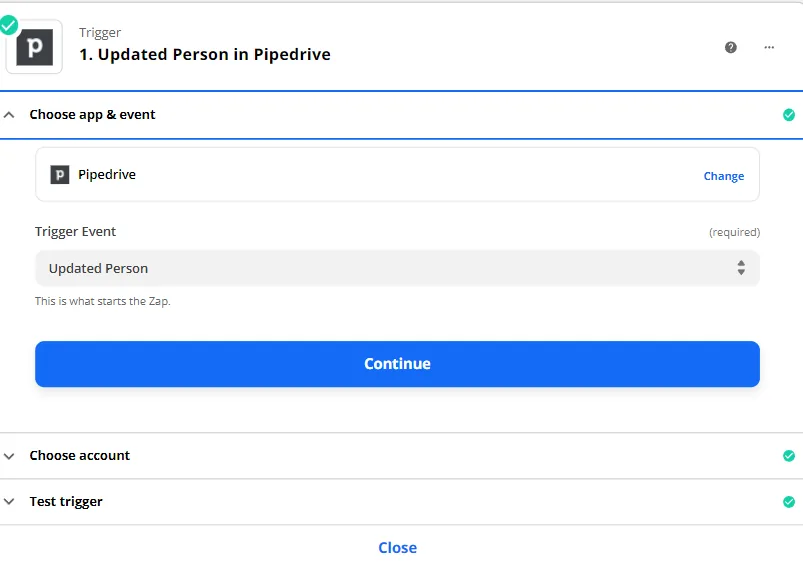
Select the Pipedrive account the leads come from.
Click Test & review and check that the data is there.
Add the webhook action
Add a second action: choose Webhooks by Zapier, select POST and click Continue.
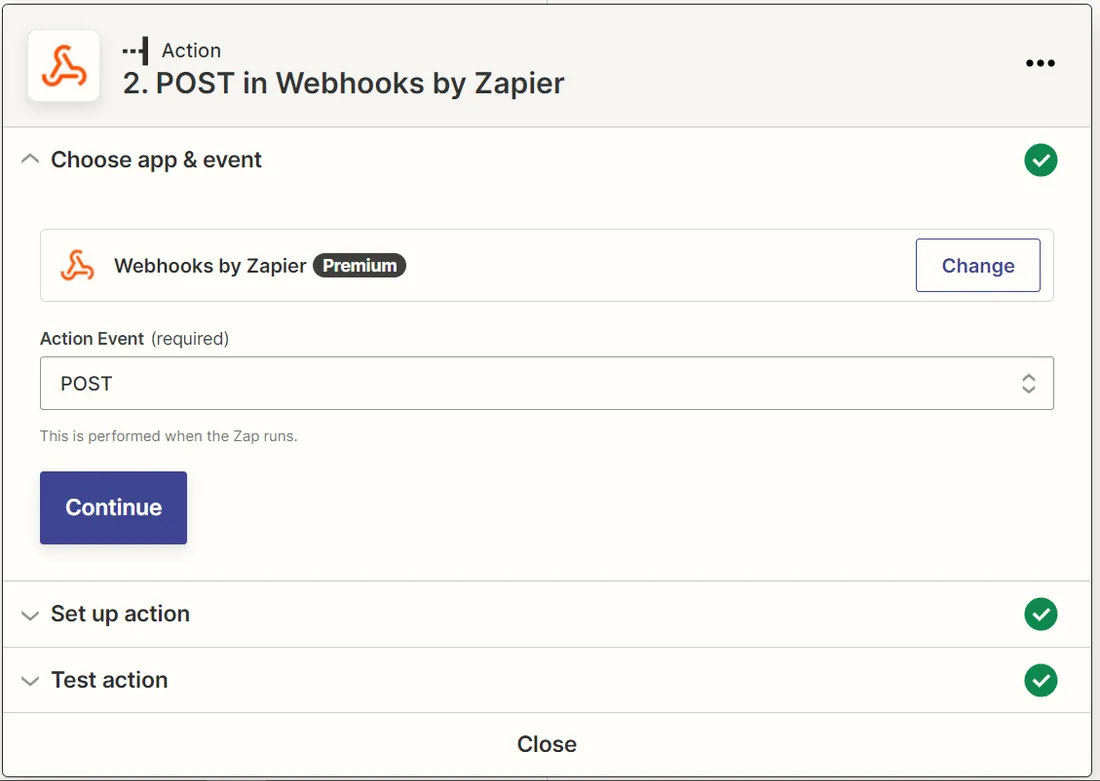
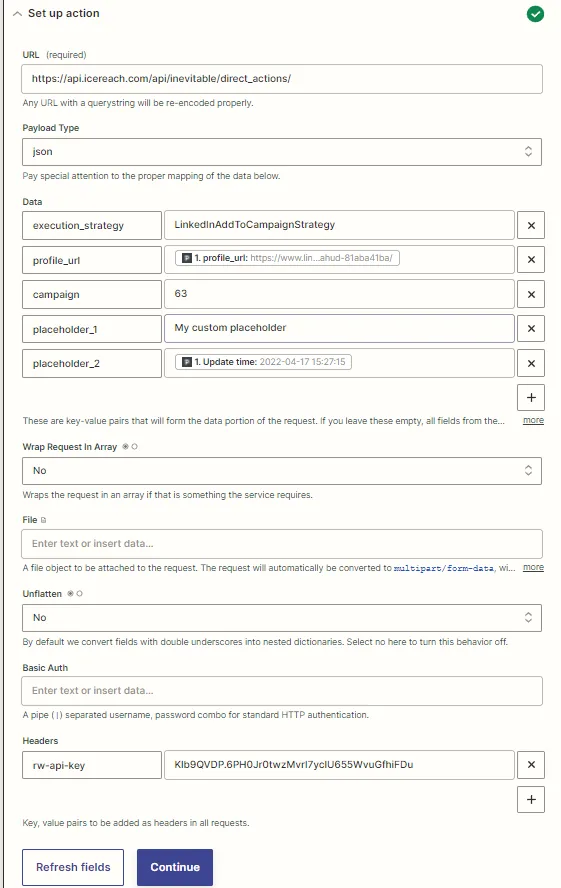
For URL, enter
https://api.replygrow.com/api/inevitable/direct_actions/. Set Payload Type tojson.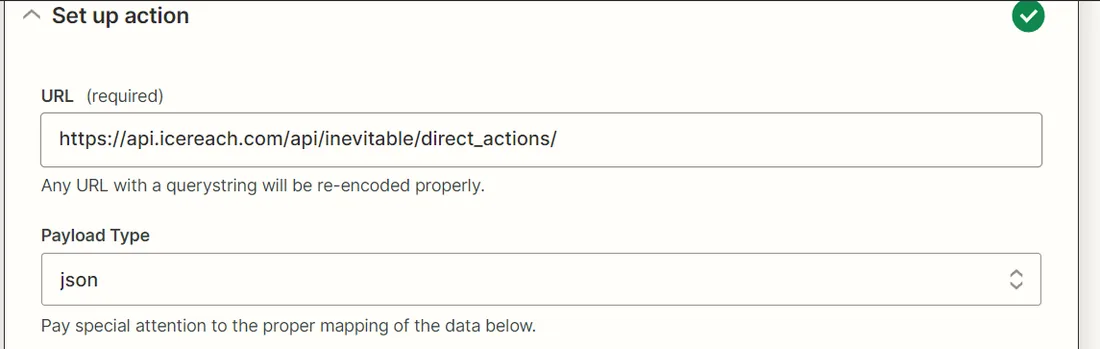
Add the data fields
In Data, add the fields from the payload above. Map profile_url to your Pipedrive field.
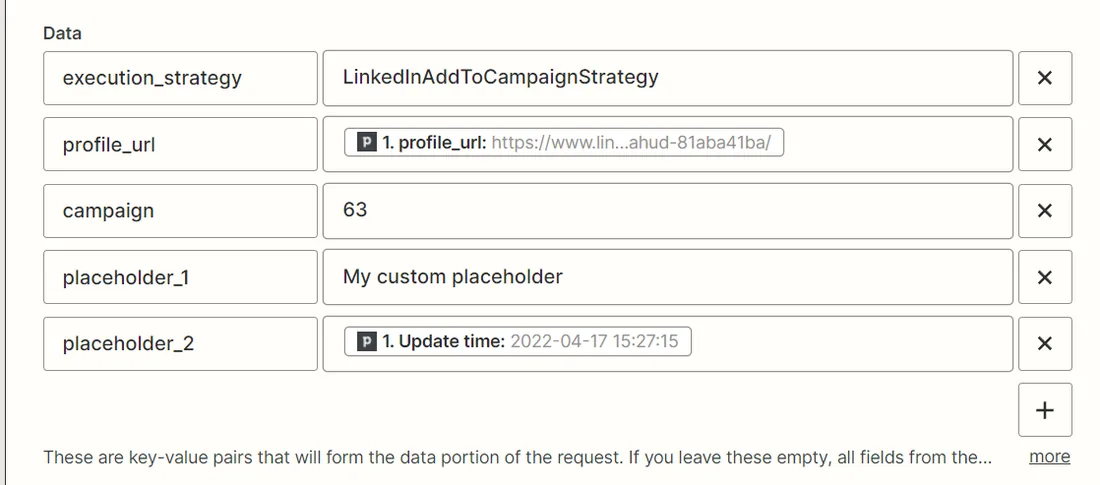


To add your own placeholders, add more fields named placeholder_1, placeholder_2 and so on.
They can use CRM data or your own text, such as address, phone, email or country.

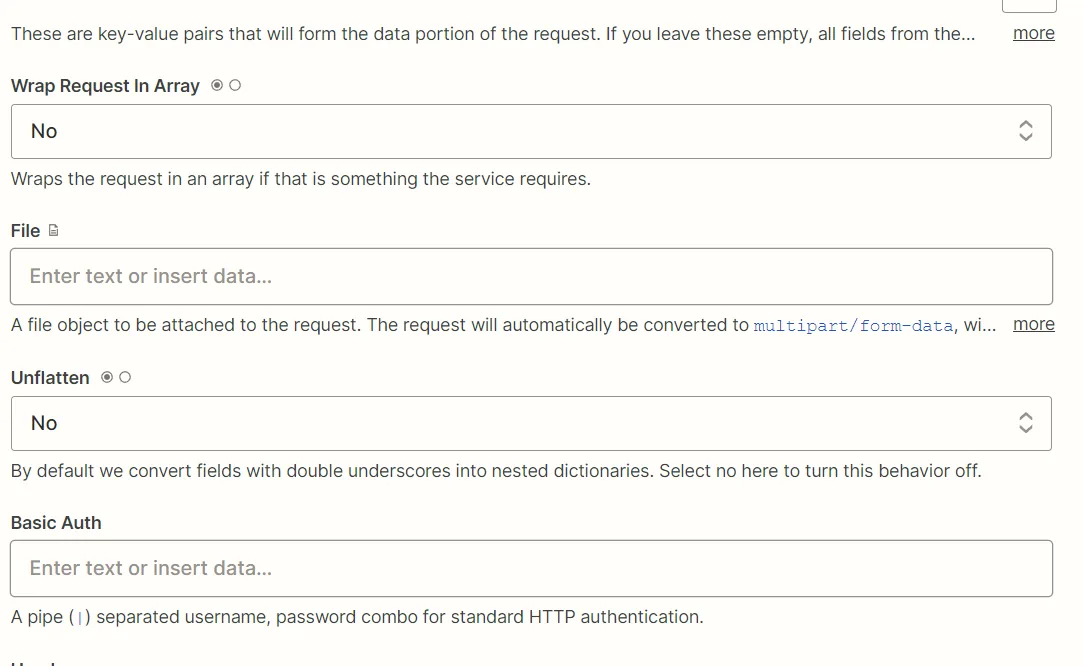
Leave Wrap request in array and Unflatten set to No. Leave File and Basic auth empty.
Add the API key header
Under Headers, add rw-api-key and paste your API key as the value.

The finished action looks like this.
Test and turn on
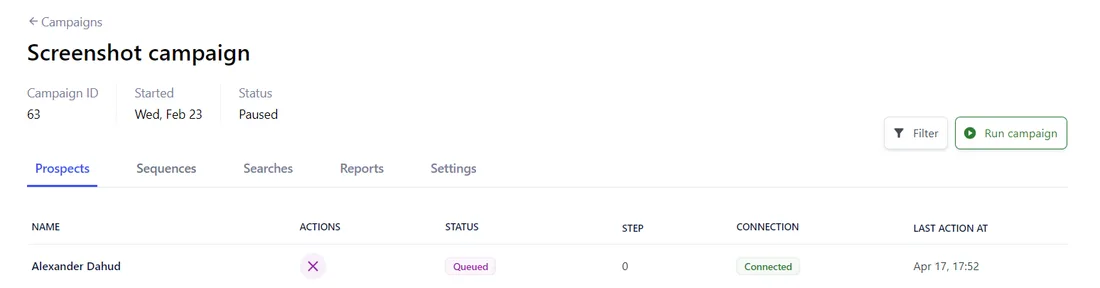
Test the step and turn on your Zap. When the webhook runs, the prospect is added to the campaign.
Make and other tools
In Make or any other automation tool, use an HTTP request module with the same endpoint, the rw-api-key header and the same JSON body.